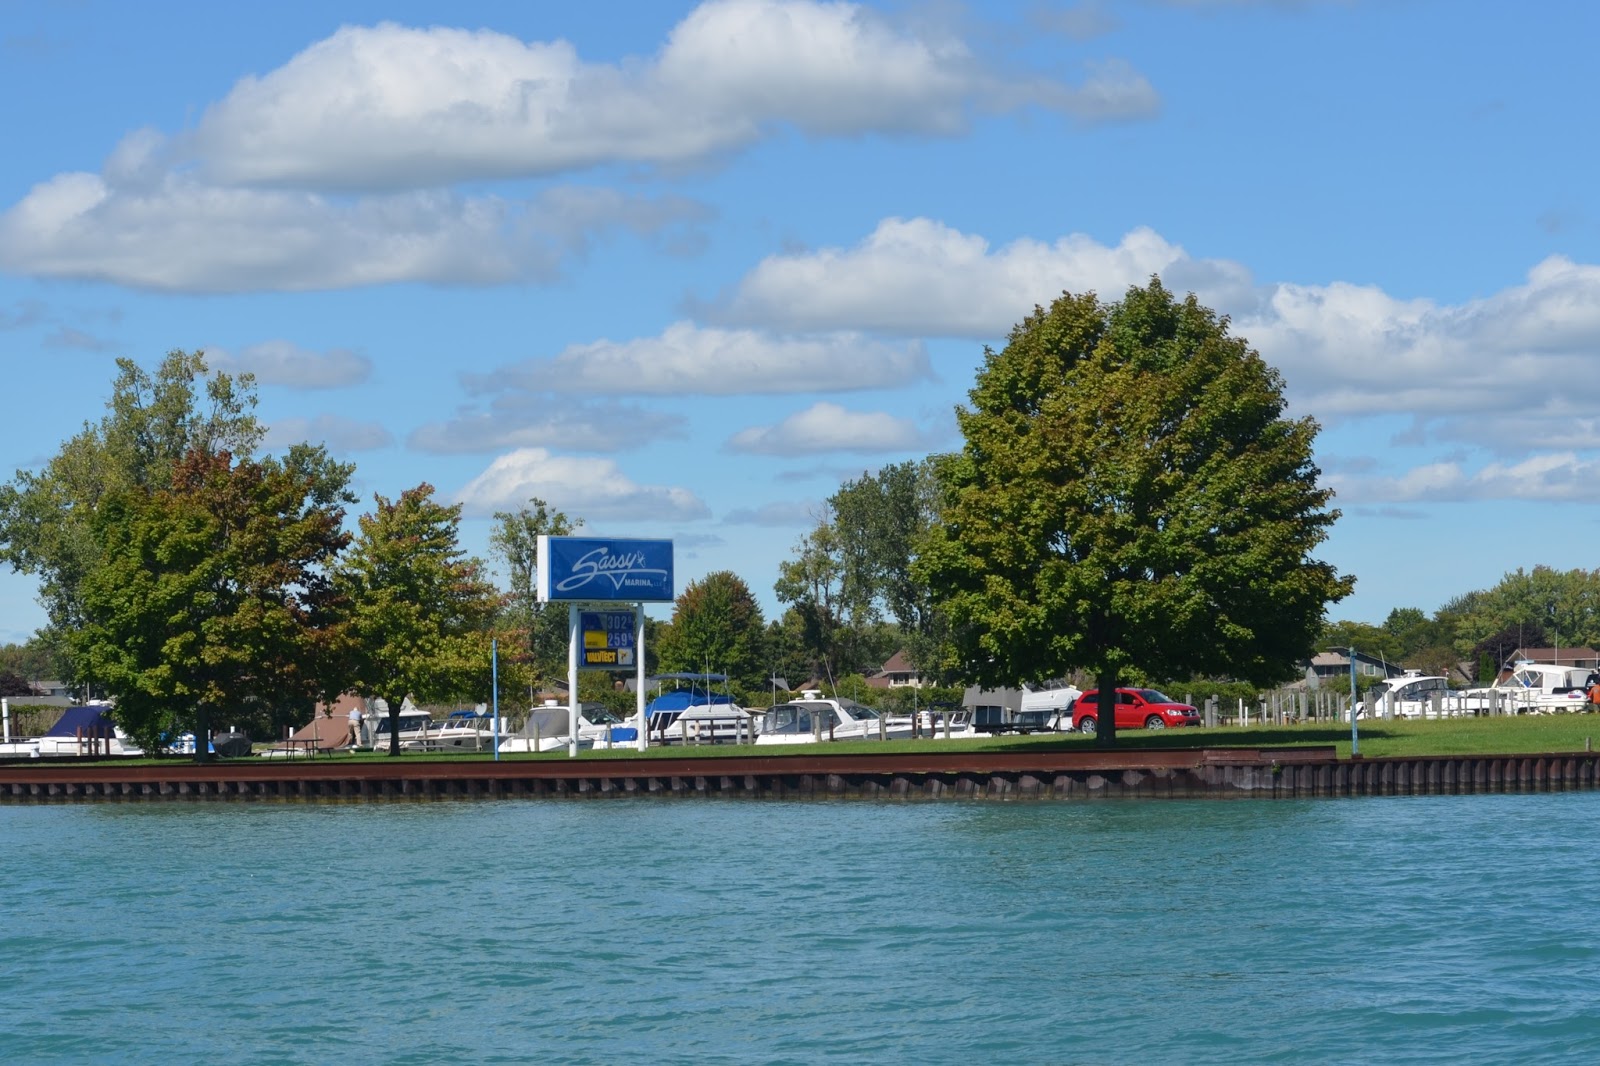
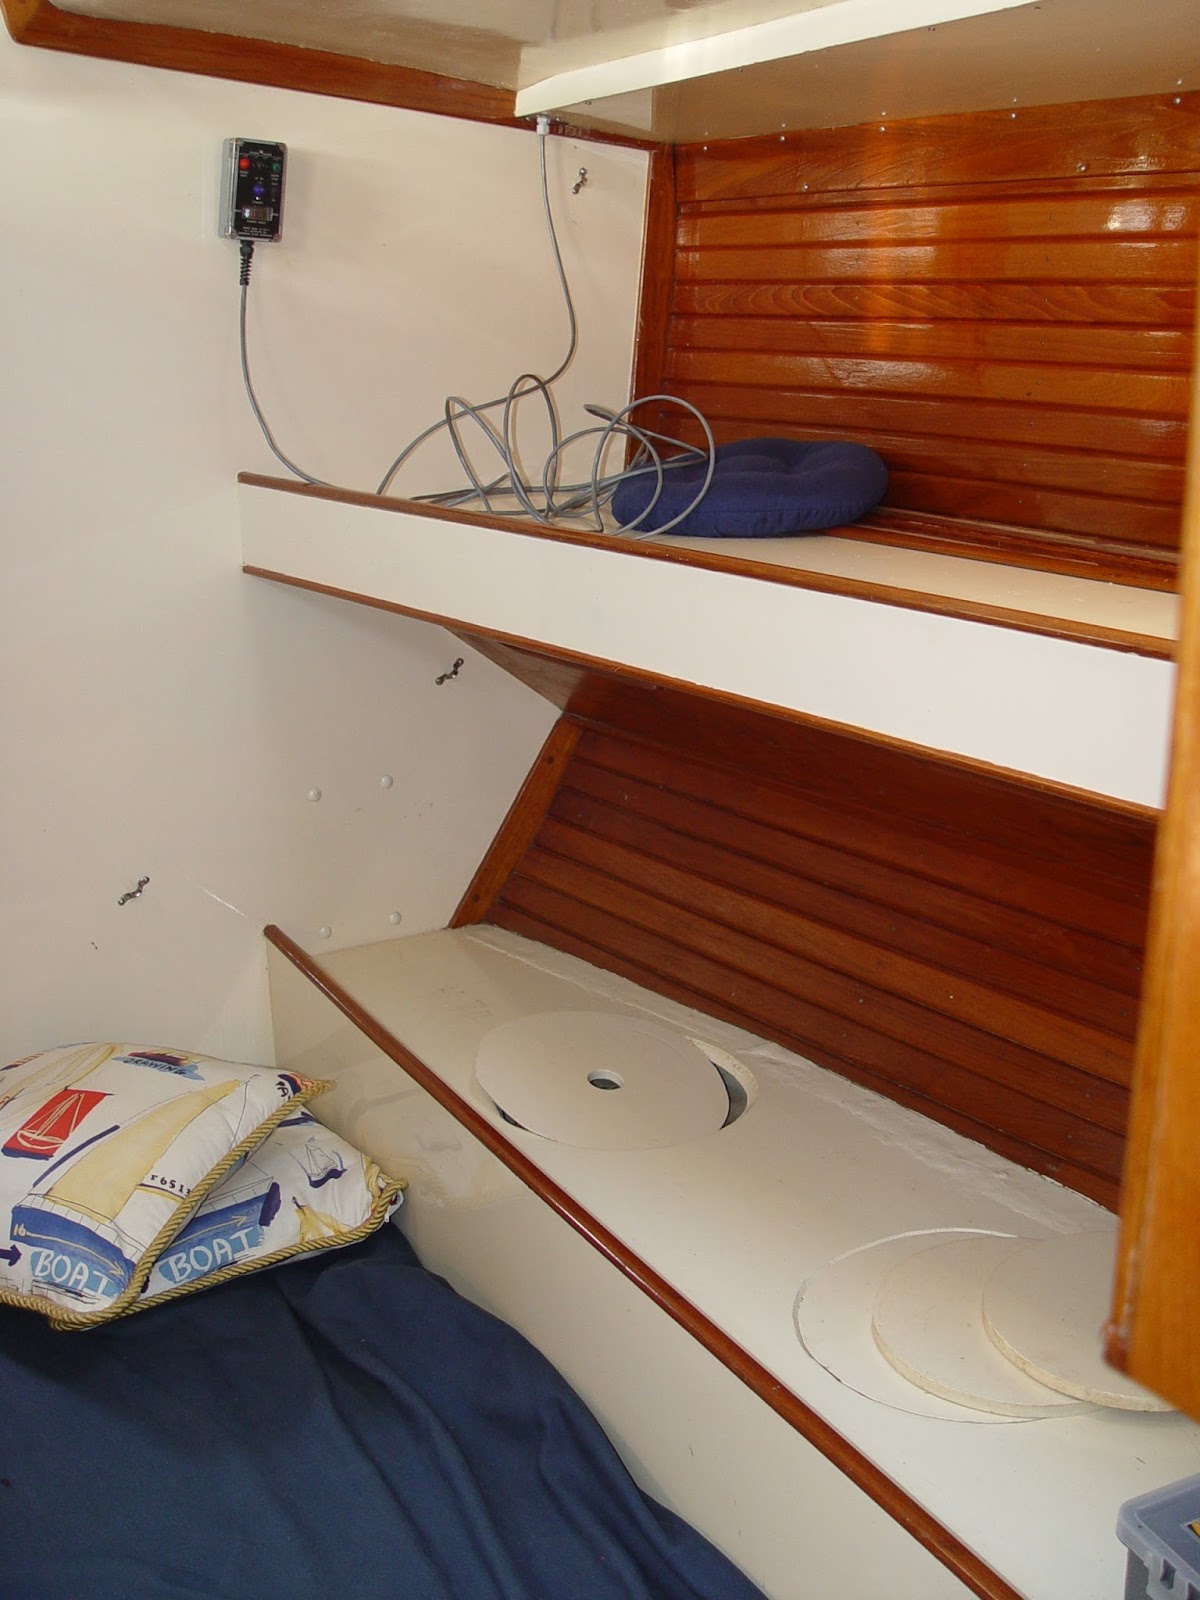
Joli has 4 tanks, 2 water and 2 fuel, on either side of the engine compartment. On the port side, the tanks were built in to a triple berth arrangement and on the starboard side, they are under a double berth in Lorraine's Cabin. The fuel tank on the starboard side had been removed before we bought the boat. Unfortunately, the fuel fill hose and deck fitting had not been removed and someone had tried to refuel without the tank installed. Yuck! That resulted in Lorraine's Cabin smelling like diesel fuel no mater how much cleaning and deodorizing I attempted. Last fall, Bryan decided it was time to remove and replace the remaining water tank in Lorraine's cabin, the water tank in the triple berth area (not in use) and the fuel tank (currently in use along with the aft fuel tank for about 85 gallons) in the triple. The goal is to install 4 new fuel tanks to increase our fuel capacity to 250 gallons. We have 3 water tanks currently in use - one in A.J.'s Cabin and 2 under the dinette with capacity of about 300 gallons so we are all set for water. Bryan started the demolition in the fall and last weekend, Bob & Beth came up to Sassy with us to get the water tank out of Lorraine's cabin. Success! After lots of sawing fiberglass and foam, prying and pulling, it came out. We also removed the pipe berth, the fuel and water fill hoses and the vent hoses. Then Beth and I spent the rest of the day chipping out the old, stinky, moldy, nasty foam and fiberglass that had surrounded the water tank. The original installation was certainly in there to stay and it put up a fight the whole way. By the end of the day, the area where the 2 tanks will go was ready for sanding and painting and it already smells much better!
Saturday, April 29, 2017
Update on Hard Top Dodger
It's coming together! Lots of thinking, planning and hard work has resulted in a great looking dodger. I can't wait to see it on the boat. You can see the first few layers of the bimini top on the mold behind the dodger; however, we had a slight setback. The photo showing the side view of the frame for the dodger looks great on the work table, but when we brought the frame up to the boat to see how it fit, it DIDN'T. Bummer! So, we will have to cut off the mounting pads and come up with plan "B". I think we are still way ahead of where we would be for $$$ if we had a professional designing and building it for us and it will be a better design. PLUS, we seem to love the hard work of owning a big, old boat!
Saturday, February 4, 2017
Put-in-Bay Sunrise
I'm dreaming of summer time and sailing! This winter has been fairly mild so far, but I'm still ready for summer. Here's a short video of the sun coming up in the mooring field at Put-in-Bay.
Link Put-in-Bay Sunrise
Saturday, January 28, 2017
Trip to Sassy Marina, Algonac, MI 2016
September 16, 2016 - We left our homeport of Sandusky, OH on Friday afternoon, headed for our last stop of the summer at Put-in-Bay before continuing north up to Sassy Marina for our winter haul-out. It was a beautiful evening and we all had big smiles on our faces. Shortly after getting out on the lake, a rum storm moved in and didn't let up until after midnight. A good time was had by all!
Saturday was windy and gray but fairly warm with winds at 8-10 knots out of the south to south-east, perfect for sailing across Lake Erie. By the time we made it to the mouth of the Detroit River, the wind had built to 20 knots and the waves were stacking up. For the first time in 10 years of winter storage at Sassy Marina, we were able to sail up the Detroit River. It was awesome! We made it to Bayview Yacht Club that evening and enjoyed a good dinner and drinks on the lawn afterwards. Sunday was beautiful and sunny but the wind had died down quite a bit. We were able to sail across Lake St. Clair and took the jib down and put away for the winter once we got in the St. Clair River. We really appreciated the extra hands as we finished the preparations for taking the mast down and storing the boat for the winter. It was another great trip up to Algonac, Michigan.
Check out my first edited video. It's a little rough but not too bad for a beginner. I hope you like it!
Link - Trip to Sassy 2016
Saturday was windy and gray but fairly warm with winds at 8-10 knots out of the south to south-east, perfect for sailing across Lake Erie. By the time we made it to the mouth of the Detroit River, the wind had built to 20 knots and the waves were stacking up. For the first time in 10 years of winter storage at Sassy Marina, we were able to sail up the Detroit River. It was awesome! We made it to Bayview Yacht Club that evening and enjoyed a good dinner and drinks on the lawn afterwards. Sunday was beautiful and sunny but the wind had died down quite a bit. We were able to sail across Lake St. Clair and took the jib down and put away for the winter once we got in the St. Clair River. We really appreciated the extra hands as we finished the preparations for taking the mast down and storing the boat for the winter. It was another great trip up to Algonac, Michigan.
Check out my first edited video. It's a little rough but not too bad for a beginner. I hope you like it!
Link - Trip to Sassy 2016
Sunday, January 22, 2017
Hard Top Dodger Project (2015 - 2017)
Joli came with a very nice, fairly new canvas and Eisenglass (hard, acrylic windows) dodger and Bimini. This allowed the whole center cockpit to be entirely enclosed with either windows or screens. Although the canvas leaked a little, it served us well for about 6 years. Being Eisenglass, the windows were stiff so the dodger was inconvenient to store when it was removed. We decided to make a new dodger and new Bimini cover using the old windows. We used flexible vinyl window material and Stamoid for all of the dodger to allow it to be rolled up for storage when removed. We also used Stamoid for the Binini top for its waterproof properties. We laid out the old dodger on the kitchen floor and used it as a pattern to cut out the Stamoid and vinyl windows. We had purchased a Consew commercial sewing machine which handled all the materials quite easily. I replaced all the zippers on the cockpit windows so that we could use them with the new Bimini cover. Although the Bimini was much easier to cut out and sew compared to the dodger, working with all those zippers was like putting together a great big puzzle! The new dodger and Bimini came out pretty well for amateurs and we have been happy with the Stamoid as it has proven to be durable and much more waterproof than the canvas. Now, 7 or 8 years later, we have decided to design, build and install a hard top dodger and Bimini. It has been a 2-year project so far (Bryan started thinking about the design in earnest in 2015) and the goal is to have them both installed this summer, 2017.


We used 3-4 layers of 7 oz carbon fiber with epoxy resin, followed by 3/4" balsa core and 3-4 layers of carbon fiber. The whole process of cutting the pieces and then laying them in place took about 5 hours.
The vinyl windows on the dodger have held up well. We are anchored in Mosquito Bay, Middle Bass Island in this photo.
Hibou is admiring the Dodger we made (or maybe he's actually looking at the Canada geese).
Motoring north across Lake Erie to Sassy Marina, Algonac, MI for winter haul-out
You can see how nice the dodger and Bimini are for protection from the weather, especially when all the windows are zipped onto the Bimini (not shown here).
The beginnings of the mold
Coating the mold with filler/primer and fairing by "long-boarding" many, many times until the mold is almost perfect
Vacuum-bagging a test piece. The vacuum pump, a Welsch duo-seal 3/4 Hp, came cheap since it was a used pump.
After some adjustments and refining of our technique, the second test piece was satisfactory. Time to mold the dodger!
We used 3-4 layers of 7 oz carbon fiber with epoxy resin, followed by 3/4" balsa core and 3-4 layers of carbon fiber. The whole process of cutting the pieces and then laying them in place took about 5 hours.
We were happy the piece popped off the mold fairly easily. After the notch was cut out of the aft end of the dodger to eliminate the head-knocker on the current dodger, the piece is placed back on top of the mold for reference.
Fitting the hard top dodger and fabricating the models for the frame
Painted with Awlcraft 2000 in Matterhorn White
Making the welding jig from the model. The frame will be aluminum piping/tubing bent by Bryan and then welded together.
Subscribe to:
Posts (Atom)